This guide will help you to set up your own vehicle tracking system with open-source software and hardware which has potential for development of your own vehicle telematics application.
Prerequisites
- Ubuntu Linux (64-bit)
- PlatformIO (used as ESP32 Arduino development environment)
- Latest Telelogger release package
- Freematics ONE+
STEP 1: Extract files from teleserver release package
After files extracted, run telelogger, the backend for Freematics Hub. It will bring up a HTTP server and a UDP server on port 8080 and 8081 respectively.
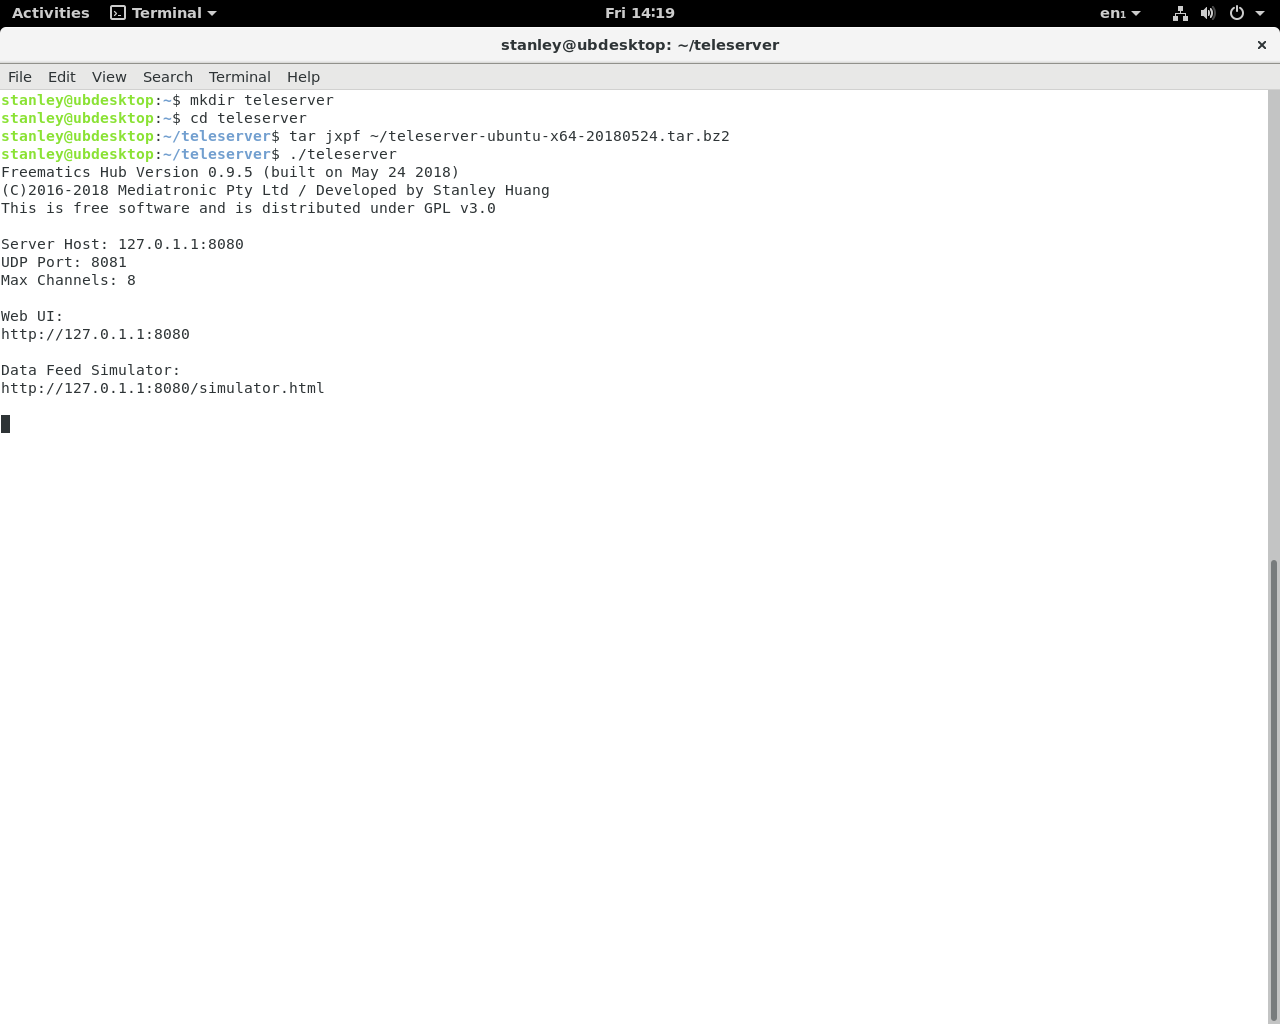
Telelogger has following command line switches.
 -p : specifiy http port [default 8080]
 -u : specifiy udp port [default 8081]
 -l : specify log file directory
 -d : specify data file directory
 -m : specifiy max clients [default 32]
 -M : specifiy max clients per IP
 -s : specifiy outbound speed limit in KB/s [default: none]
 -n : specifiy HTTP authentication user name for remote access [default: admin]
 -w : specifiy HTTP authentication password for remote access
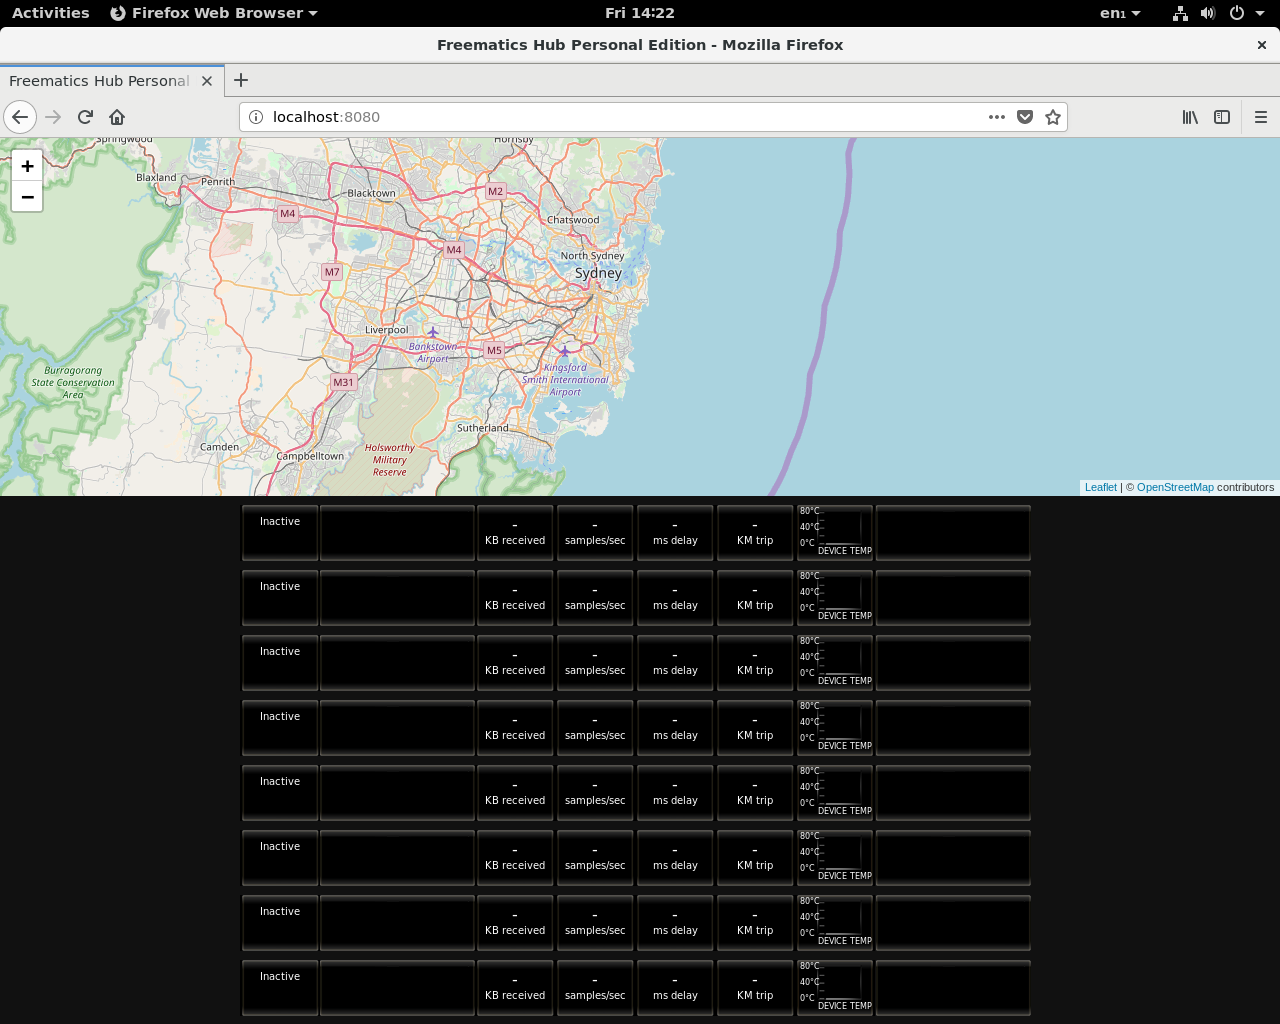
STEP 2: Open web browser and test with dashboard page (http://localhost:8080)
If you need remote access from home network, please set up port forwarding in your router.
STEP 3: Obtain and configure telelogger
Telelogger is an Arduino sketch developed for Freematics ONE+. Get the code by cloning Freematics Github.
https://github.com/stanleyhuangyc/Freematics.git
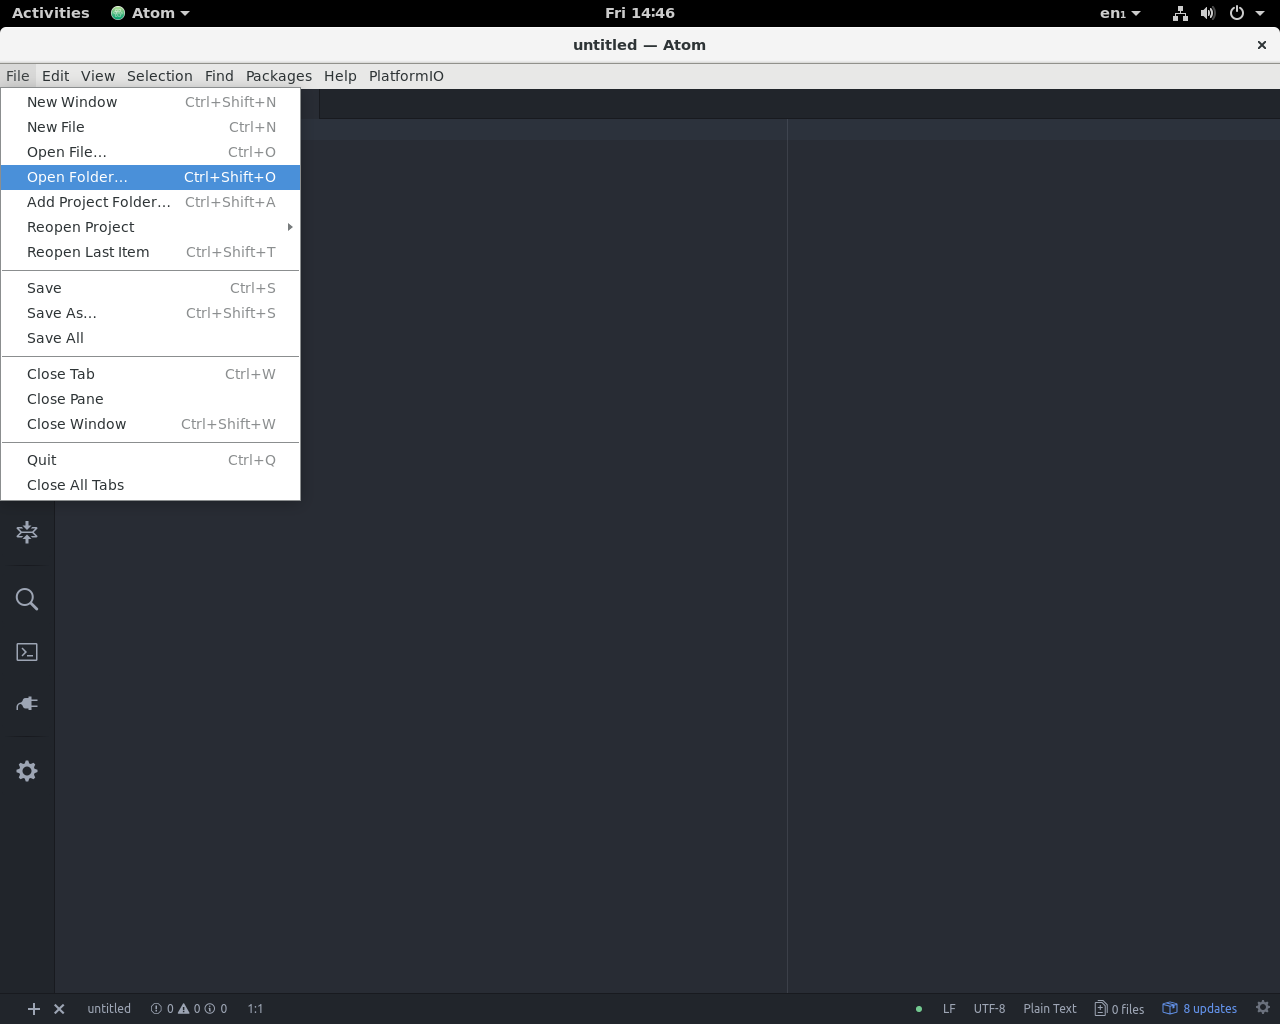
Once the code obtained, launch Atom (PlatformIO) and open the folder firmware_v5/telelogger.
Some changes in config.h are usually necessary depend on how you want your Freematics ONE+ to connect to Internet. If you want to use Freematics ONE+’s built-in WiFi, change WIFI_SSID and WIFI_PASSWORD to that of your WiFi router or hot spot. If you want to use cellular network, change NET_DEVICE to NET_SIM800 (for 2G) or NET_SIM5360 (for 3G), and set the mobile operator’s APN correctly. Just note that your Freematics ONE+ must have corresponding cellular module installed. Finally, change SERVER_HOST to your server’s IP or domain name and SERVER_PORT to the actual UDP port if you have specified one.
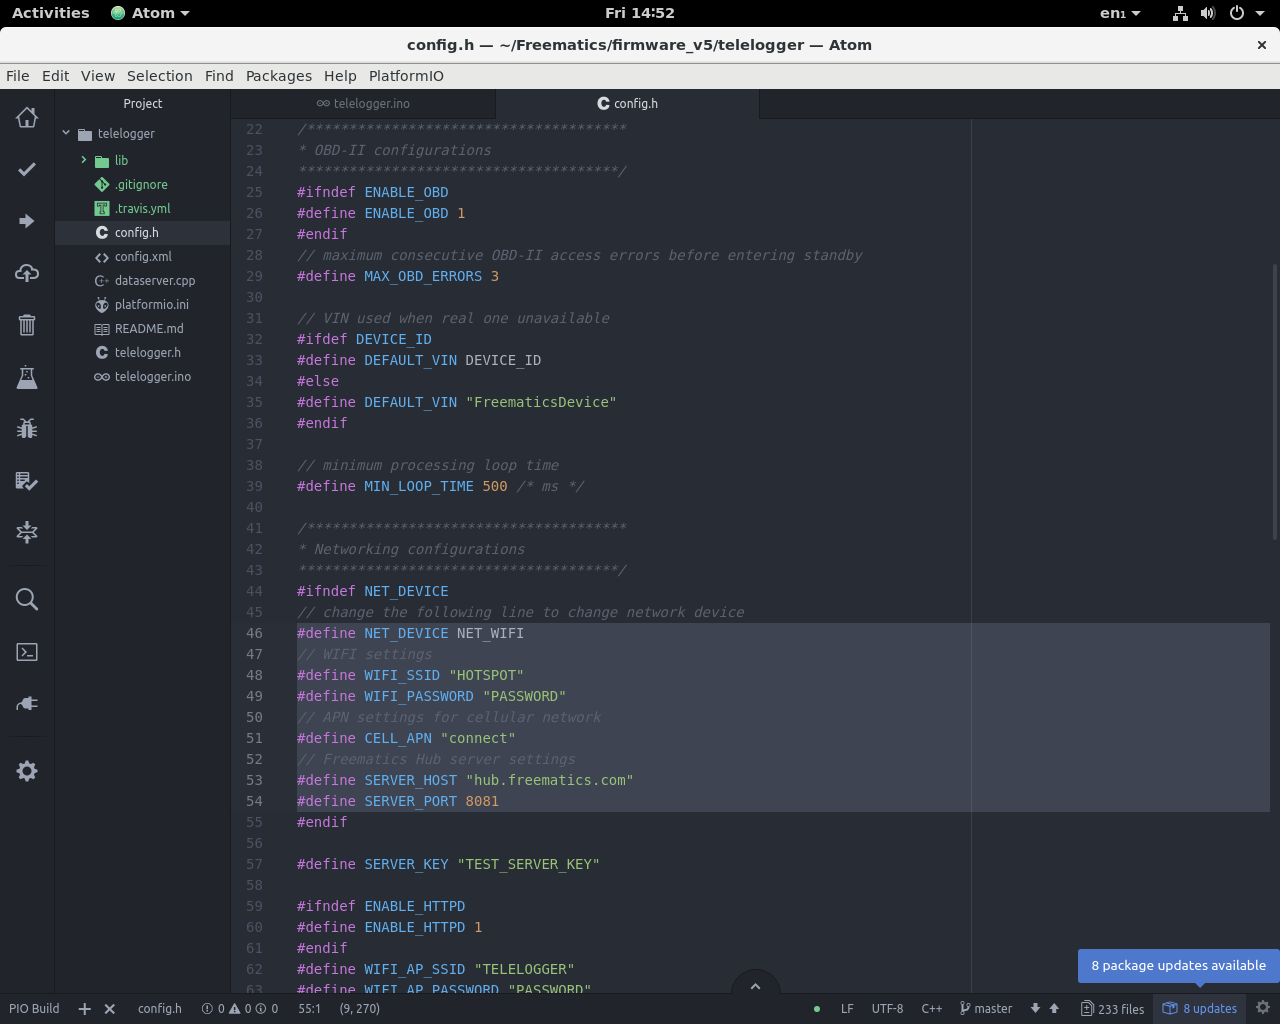
There are whole a bunch of other settings in config.h you can explore later. Once you have done with the changes, it’s time to connect your Freematics ONE+ to your computer via USB cable. Please make sure your computer’s USB port can supply enough surge current (1A), otherwise please either connect Freematics ONE+ to OBD port so it gets 12V power, or get a USB hub with external power supply.
STEP 4: Compile and upload telelogger to Freematics ONE+
To start compiling and uploading, click PlatformIO: Upload button from the left sidebar and start uploading.
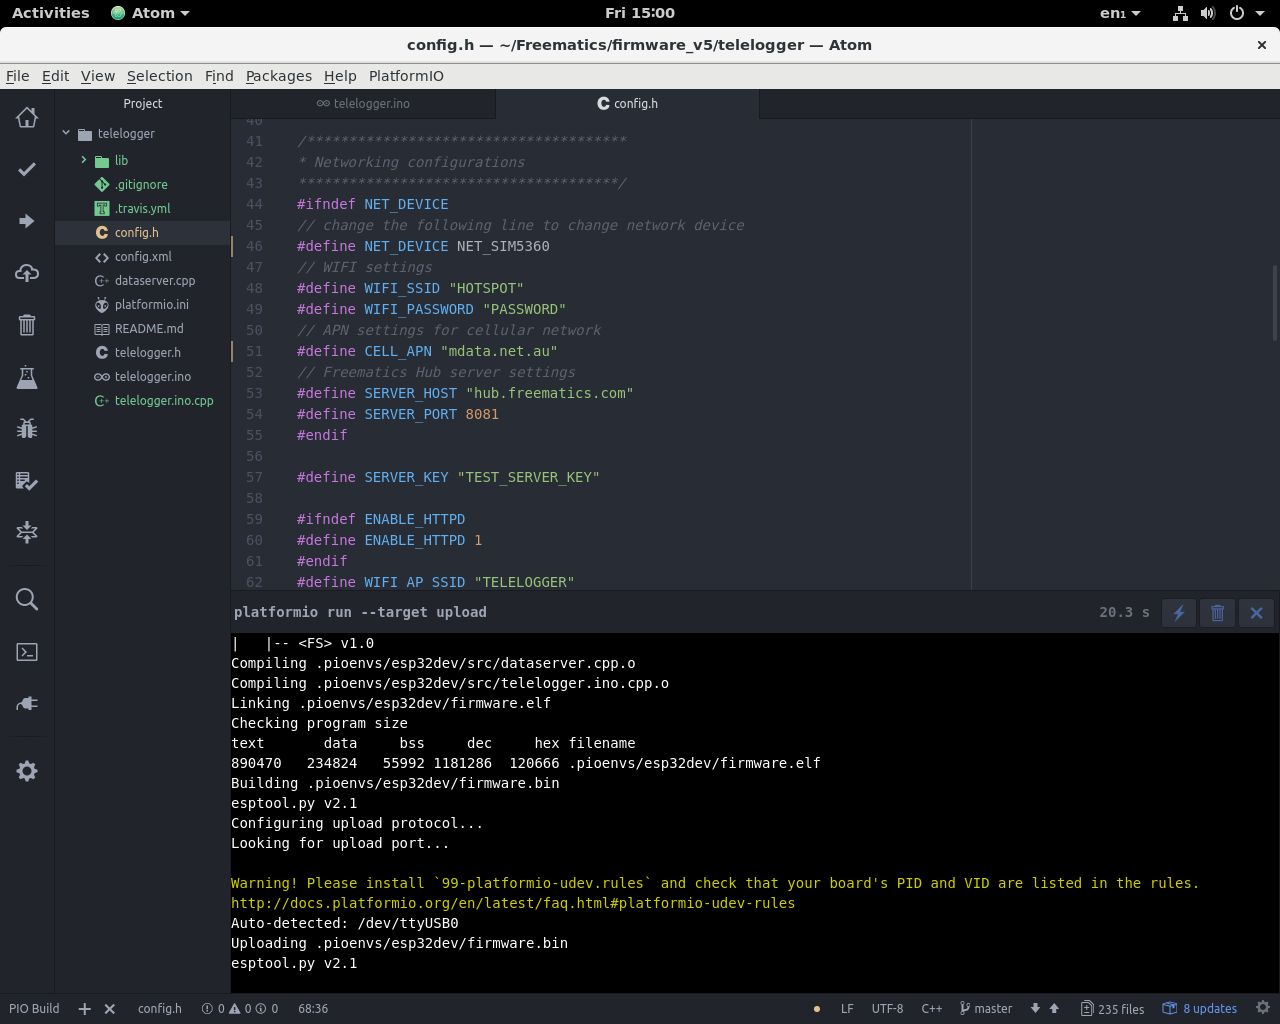
If you get this warning, please follow these instructions to set up udev so PlatformIO gain access to USB serial.
Once compiling and uploading is successful, open serial port monitor by clicking Terminal on the left sidebar and you will just see Freematics ONE+ initializing and transmitting data to your server.
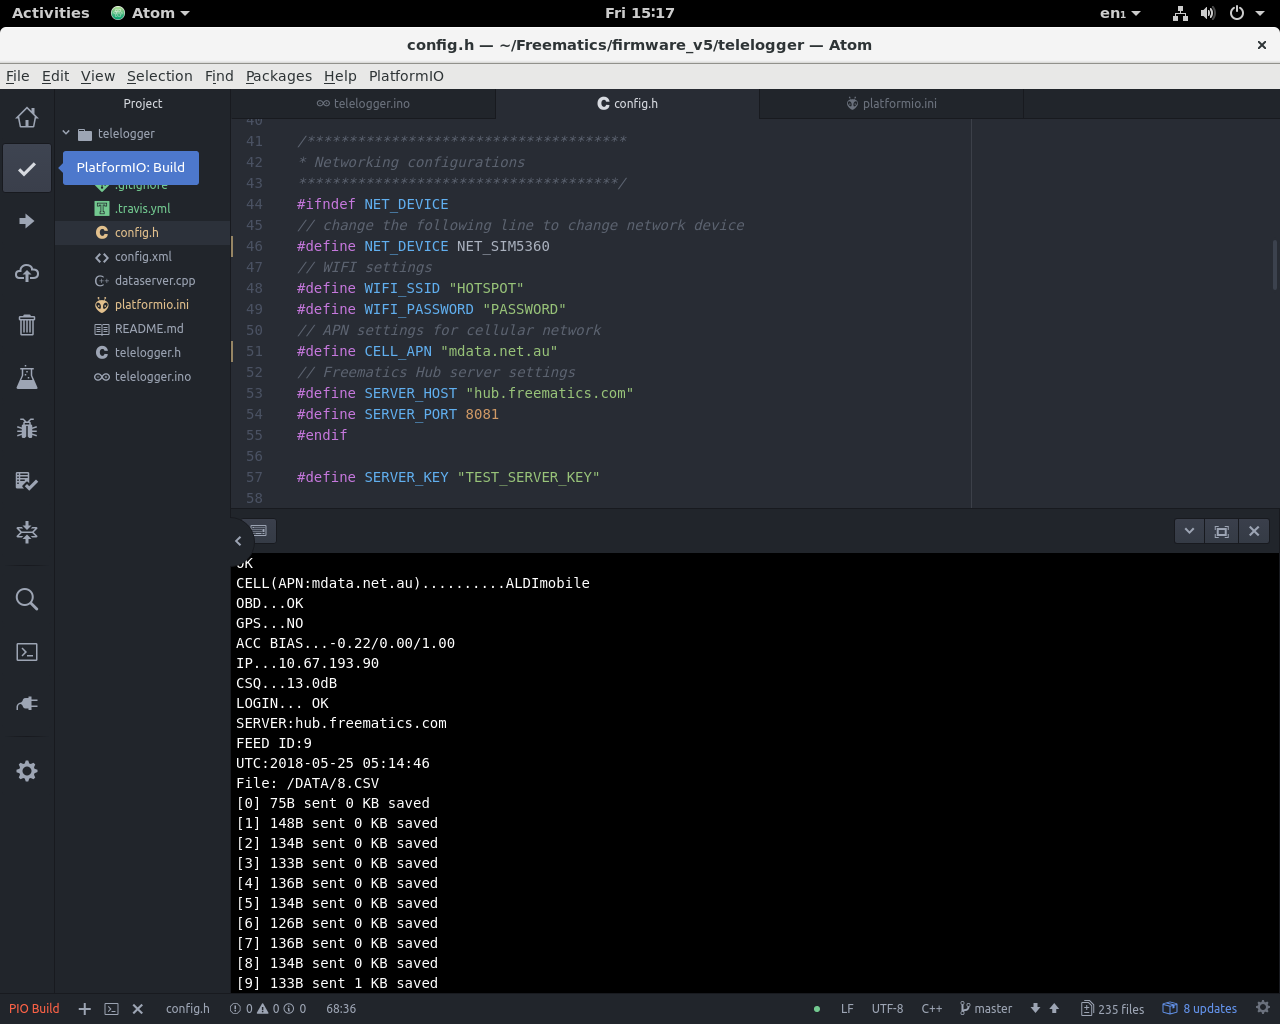
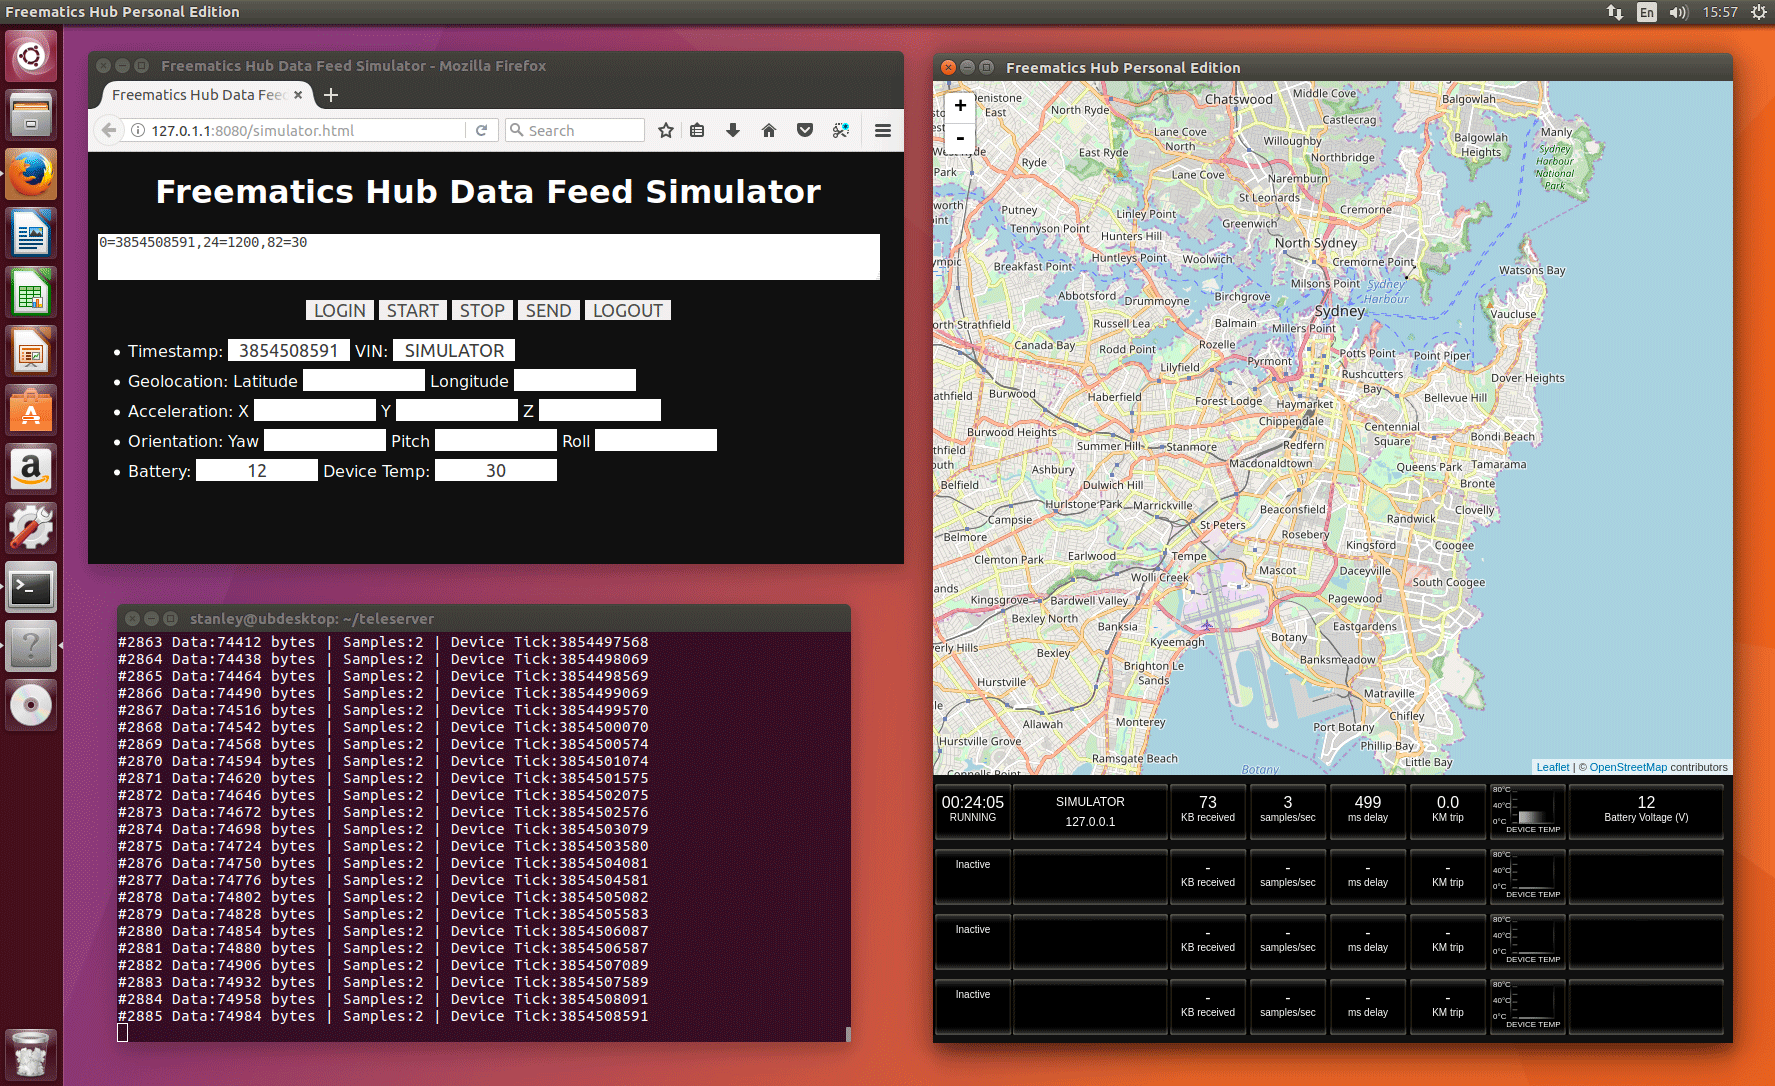
At the same time, you will see some updating statistics from the terminal window running teleserver and also real-time data update from web browser.
It’s just a start!
Being able to set up a working vehicle tracking system is just a start, as Freematics Hub provides a set of REST APIs for application development without the hustle and bustle about device connectivity and data transmission. By accessing Freematics Hub API, application developers can get real-time and history data from multiple vehicles with least effort.